
Walking into the world of managed WordPress hosting is like entering a coffee shop in Brooklyn or Bangkok. You'll notice some commonalities: promises of blazing-fast speeds, top-notch security, and 24/7 support. But just as not all reclaimed wood furniture and Edison bulbs create a beloved local haunt, not all hosting providers deliver on their promises.
Enter Kinsta. It's not just another face in the crowd of WordPress hosts. It's more like that one coffee shop that nails the pour-over every single time, while also offering nitro cold brew on tap. As the founder of DataDab, a marketing agency that's seen its fair share of hosting nightmares, I've become somewhat obsessed with finding the perfect blend of performance and reliability for our clients.
This isn't a global conspiracy to make all hosting providers look alike. It's just that the internet has connected our world in a way that propels winning combinations to the forefront. Ignore convention at your peril, but also know when to zag while others zig.
In this guide, we're going to reverse-engineer what makes Kinsta tick, and how you can use its unique features to give your WordPress site the rocket fuel it needs. We'll dive into the nitty-gritty of setting up your account, optimizing your site, and even explore how to use Kinsta's tools for your marketing efforts.
The Kinsta Difference: More Than Just Another Host
Before we jump into the technical weeds, let's talk about why Kinsta stands out in the crowded hosting landscape. It's like the difference between a mass-produced latte and a carefully crafted flat white – they might look similar on the surface, but the devil's in the details.
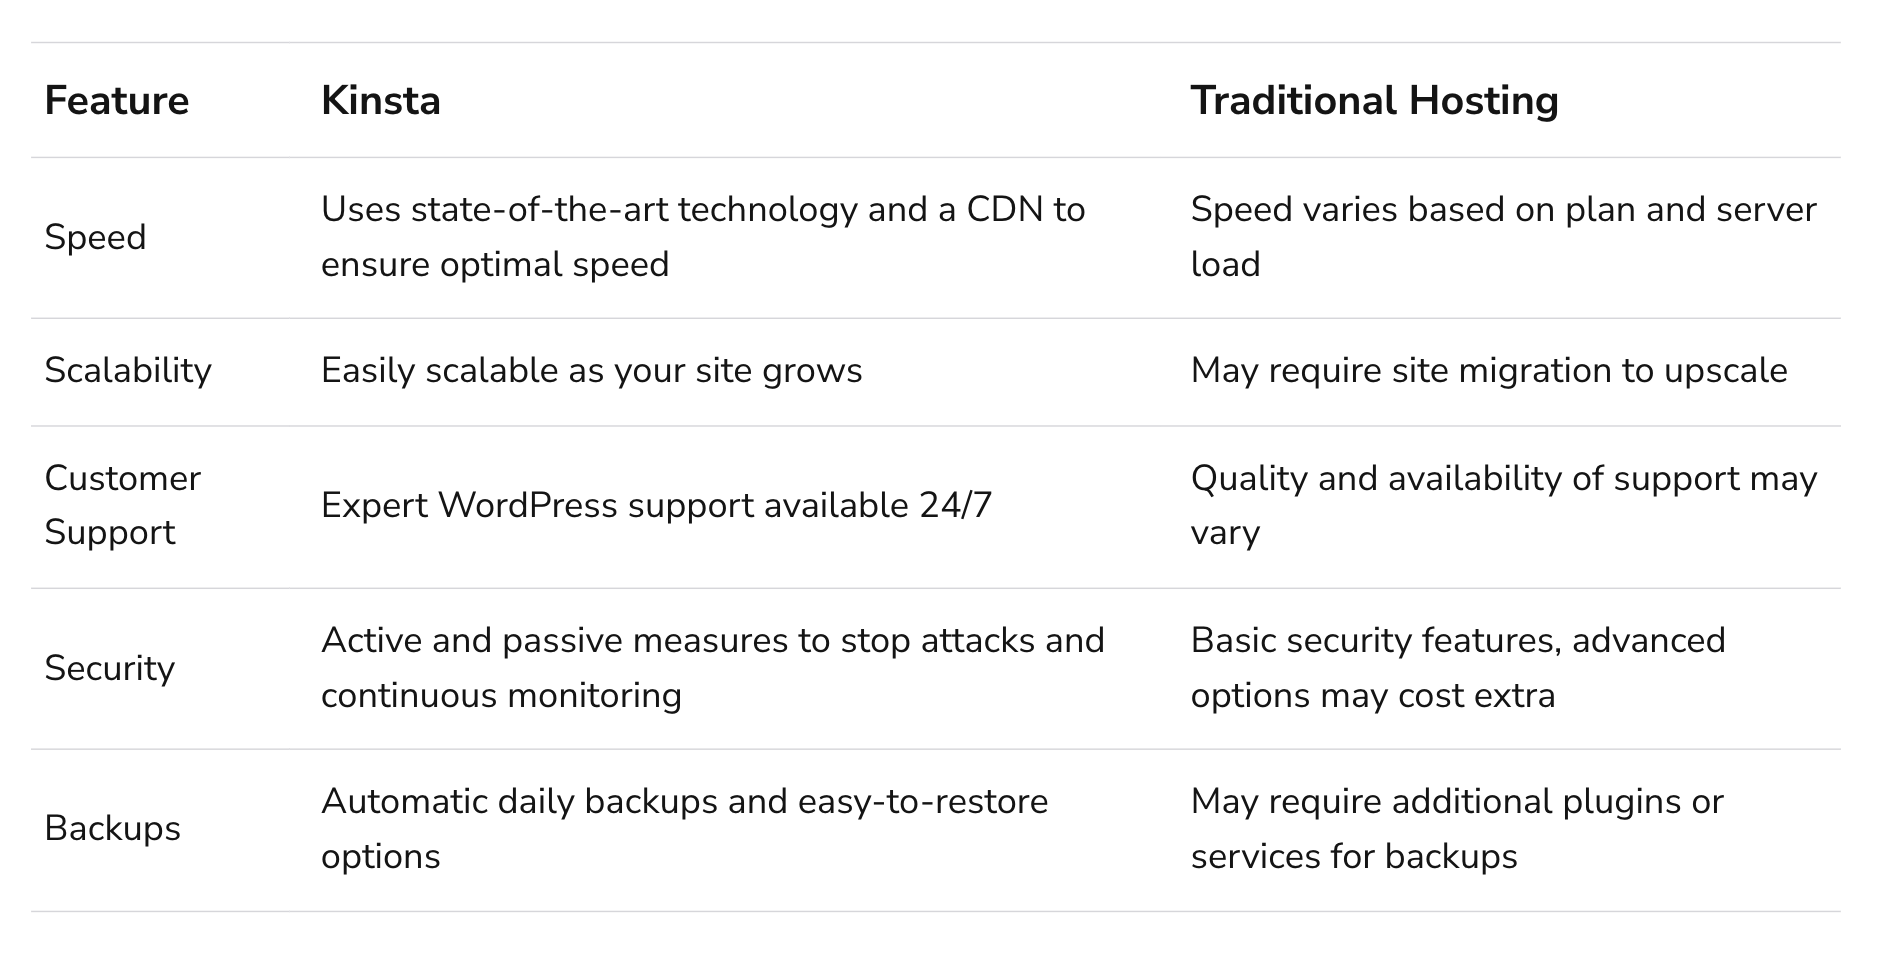
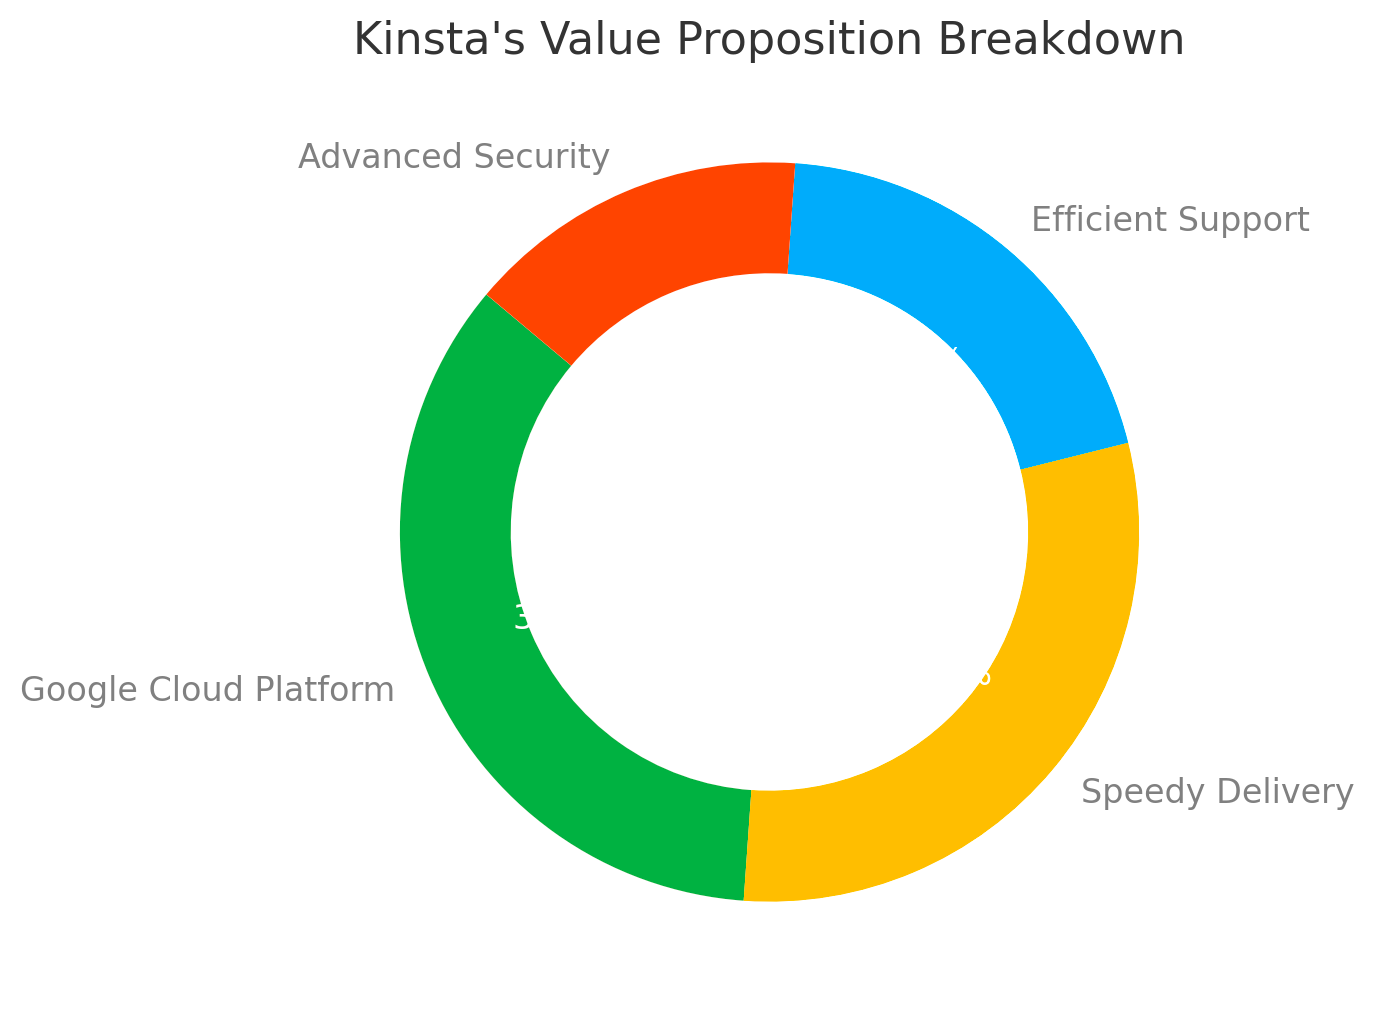
Kinsta's secret sauce? It's built on Google Cloud Platform's premium tier network. This isn't just marketing fluff – it translates to real-world benefits for your site. According to Kinsta's own benchmarks, sites hosted on their platform see average page load times of under 200ms. That's blazing fast, especially when you consider that even a 1-second delay in page load time can lead to a 7% reduction in conversions, according to research from Aberdeen Group.
But it's not just about raw speed. Kinsta's focus on WordPress means they can offer features that are genuinely useful for WordPress site owners, rather than a laundry list of options you'll never use. Their staging environments, for example, are a godsend for developers and site owners alike. Being able to test changes in a perfect replica of your production environment before pushing them live has saved my team countless hours of troubleshooting and client headaches.
Now, let's roll up our sleeves and get into the nitty-gritty of setting up your Kinsta account. Don't worry – Kinsta has made this process surprisingly painless, even for those who break out in a cold sweat at the mention of DNS records.
Setting Up Your Kinsta Account: A Step-by-Step Guide
Step 1: Choose Your Plan
Kinsta offers a range of plans to suit different needs and budgets. Here's a quick breakdown of their main offerings:
| Plan | Price (monthly) | Websites | PHP Workers | CDN | Free Migrations |
|---|---|---|---|---|---|
| Starter | $35 | 1 | 2 | 50 GB | 1 |
| Pro | $70 | 2 | 4 | 100 GB | 2 |
| Business 1 | $115 | 5 | 8 | 200 GB | 3 |
| Business 2 | $225 | 10 | 16 | 300 GB | 4 |
There are higher-tier plans available, but these cover the needs of most small to medium-sized businesses. One thing I appreciate about Kinsta's pricing is the transparency – there are no hidden fees or surprise charges lurking in the fine print.
When choosing your plan, pay particular attention to the number of PHP workers. These determine how many simultaneous uncached requests your site can handle. If you're running a high-traffic site or using resource-intensive plugins, you'll want to opt for a plan with more workers.
 Amit Ashwini
Step 2: Sign Up and Create Your Account
Once you've selected your plan, the sign-up process is as smooth as a well-pulled espresso shot. You'll need to provide some basic information and billing details. Kinsta offers a 30-day money-back guarantee, so you can try the service risk-free. It's like being able to send back that experimental lavender latte if it's not to your taste.
After your account is created, you'll be taken to the MyKinsta dashboard. This is your command center for managing all aspects of your hosting. Take a moment to familiarize yourself with the layout – you'll be spending a lot of time here, much like a barista gets to know every nook and cranny of their workspace.
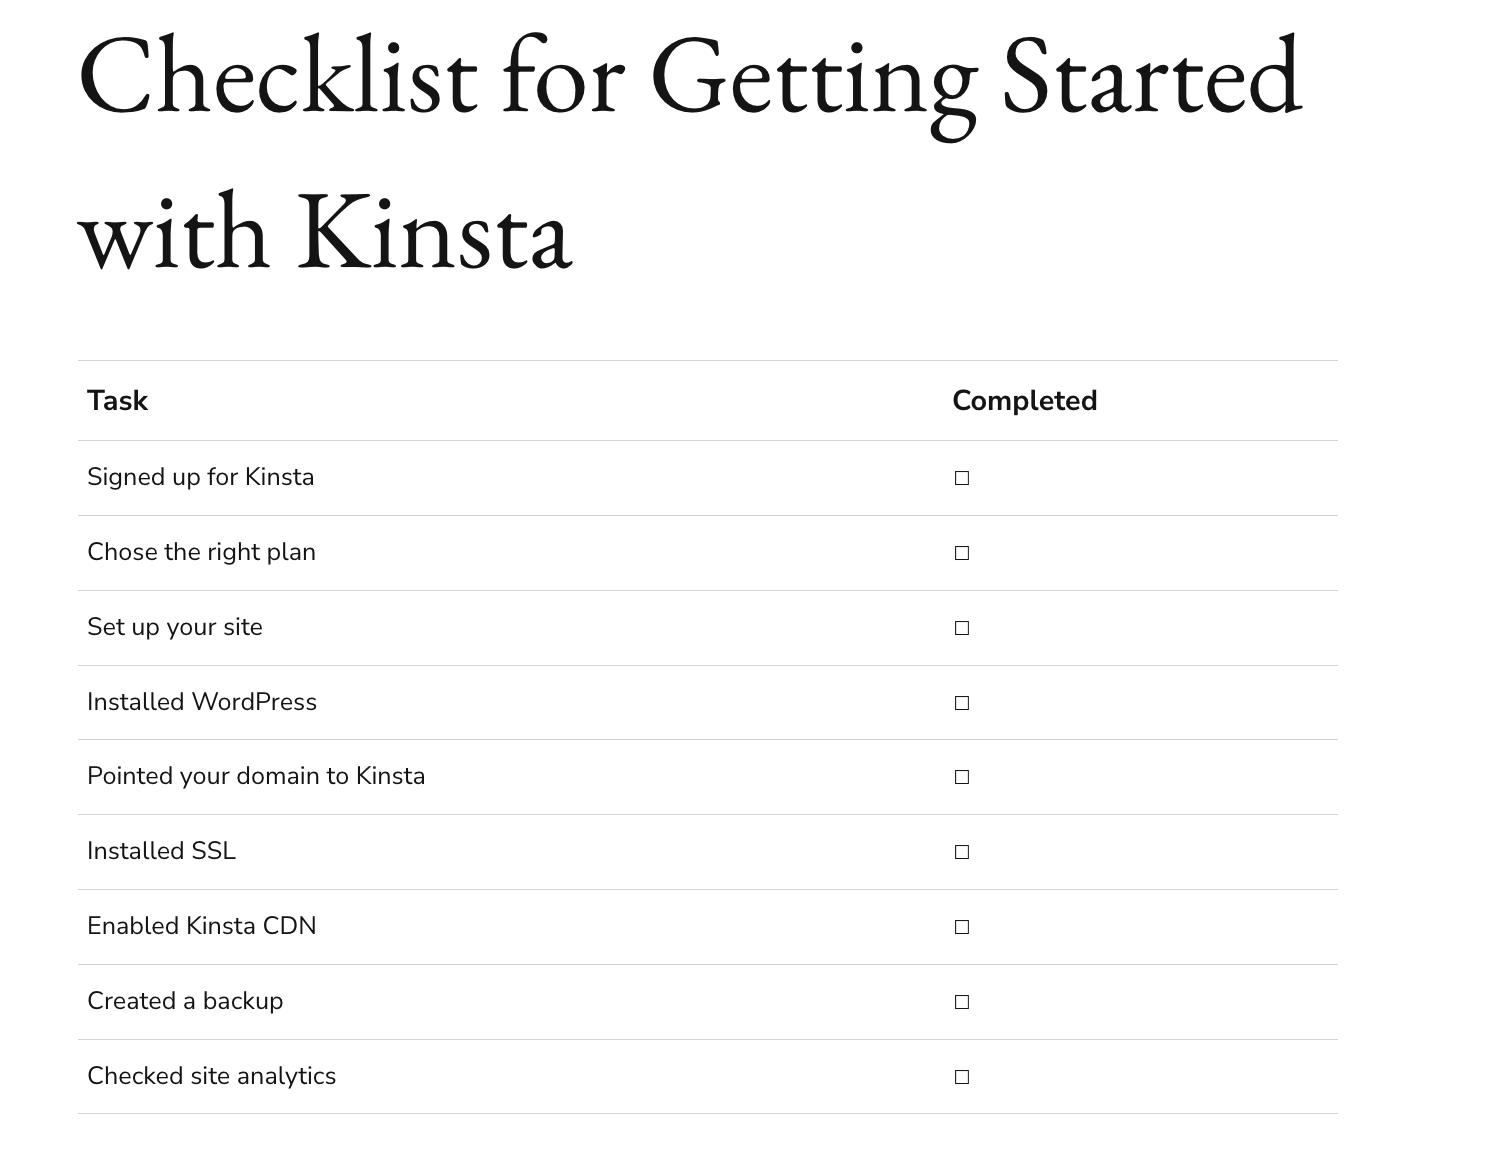
Step 3: Create Your First Site
From the MyKinsta dashboard, click on the "Sites" tab and then "Add Site". You'll be presented with two options:
- Add a brand new WordPress site
- Migrate an existing site
If you're starting fresh, choose the first option. You'll need to select a data center location (choose the one closest to your target audience for best performance), give your site a name, and choose whether you want to install WordPress manually or automatically.
For most users, I recommend the automatic installation. It's quick, painless, and ensures you're starting with a clean, up-to-date WordPress install. It's like getting a perfectly calibrated espresso machine right out of the box.
Step 4: Configure Your Domain
Once your site is created, you'll need to point your domain to Kinsta's servers. This is where things can get a bit technical, but don't worry – Kinsta's documentation is as clear as a cold brew.
In the MyKinsta dashboard, navigate to your site's details and look for the "Domains" tab. Here, you'll find the necessary DNS information. You'll need to update your domain's nameservers or create A records pointing to Kinsta's IP addresses. The exact process will depend on your domain registrar, but Kinsta provides detailed guides for most major providers.
A word of caution: DNS changes can take up to 48 hours to propagate fully. In practice, it's usually much faster, but don't panic if your site isn't immediately accessible at your domain. It's like waiting for a pour-over – patience yields the best results.
Optimizing Your Kinsta-Hosted Site for Peak Performance
Now that your site is up and running on Kinsta, it's time to fine-tune it for maximum performance. While Kinsta's infrastructure gives you a great starting point, there are still optimizations you can make to squeeze every last bit of speed out of your site.
Apply Kinsta's Built-in Caching
One of Kinsta's standout features is its custom-built caching system. Unlike many hosts that rely on third-party caching plugins, Kinsta's solution is integrated at the server level. This means faster performance and less potential for conflicts with your WordPress setup.
By default, Kinsta's caching is enabled for all sites. However, you can fine-tune it to your needs. In the MyKinsta dashboard, navigate to your site's Tools > Clear Cache menu. Here, you can clear the cache manually or set up automatic cache clearing for specific URLs.
For most sites, the default settings work well. But if you're running a highly dynamic site or using a page builder, you might need to adjust these settings. It's like dialing in the perfect grind size for your espresso – small adjustments can make a big difference.
Optimize Your Images
Images are often the biggest culprit when it comes to slow-loading pages. While Kinsta's CDN helps deliver images quickly, it's still crucial to optimize them before uploading.
I recommend using a tool like ShortPixel or Imagify to compress your images without noticeably affecting quality. These tools can reduce file sizes by up to 80% without visible loss of quality. It's like being able to fit more flavor into a smaller cup – your site visitors get all the visual impact with none of the wait.
For even better performance, consider implementing lazy loading for images. This technique delays loading of images that are not in the viewport, speeding up initial page load times. If you're using WordPress 5.5 or later, lazy loading is enabled by default for images. For older versions, you can use a plugin like a3 Lazy Load.
Minimize Plugin Usage
It's tempting to install a plugin for every little feature you want on your site. However, each plugin you add increases the complexity of your site and can potentially slow it down. A study by Kinsta found that sites with 20 or more plugins were 21% slower on average than sites with fewer than 20 plugins.
Audit your plugins regularly and ask yourself:
- Is this plugin still necessary?
- Is there a lighter alternative that could do the same job?
- Could this functionality be achieved without a plugin?
Remember, fewer plugins mean fewer potential points of failure and better overall performance. It's like keeping your coffee setup simple – sometimes all you need is a good bean grinder and a French press to make a stellar cup.
Utilize Kinsta's Staging Environments
One of Kinsta's most powerful features is the ability to create staging environments with a single click. These are perfect copies of your live site where you can test changes without affecting your production site. It's like having a secret lab where you can experiment with new coffee blends without risking your café's reputation.
I can't stress enough how valuable this feature is. It allows you to:
- Test new plugins or themes without risk
- Experiment with performance optimizations
- Train clients or team members in a safe environment
To create a staging environment, simply go to your site's details in MyKinsta and click "Staging Environment" > "Create a staging environment". Once you're happy with your changes, you can push them to your live site with a single click. It's as smooth as pulling a perfect shot of espresso.
Monitor Your Site's Performance
Kinsta provides detailed analytics for your site, including uptime, response time, and resource usage. Make it a habit to regularly review these metrics. They can help you identify potential issues before they become problems and give you insights into how your optimizations are affecting performance.
Pay particular attention to your PHP worker usage. If you're consistently maxing out your available workers, it might be time to upgrade your plan or optimize your code to reduce resource usage. It's like keeping an eye on your espresso machine's pressure gauge – it tells you when you need to make adjustments.
The Use of Kinsta for Your Marketing Efforts
As a marketing agency owner, I'm always looking for ways to give my clients an edge. Kinsta's robust infrastructure and features provide several opportunities to supercharge your marketing efforts. Let's brew up some strategies:
Handling Traffic Spikes with Ease
One of the biggest nightmares for any marketer is launching a successful campaign only to have the client's site crash under the influx of traffic. With Kinsta, this is rarely a concern. Their auto-scaling infrastructure can handle sudden traffic spikes without breaking a sweat.
For example, we had a client running a Black Friday promotion that was featured on a major deal site. Their traffic spiked to over 10 times their normal volume within minutes. On their previous host, this would have brought their site to its knees. With Kinsta, the site didn't even break a sweat. The ability to confidently run high-traffic promotions without worrying about technical issues is invaluable for any serious marketing effort. It's like having an infinitely scalable coffee machine that can serve a sudden rush of customers without missing a beat.
Improved Site Speed for Better SEO
Site speed is a crucial ranking factor for search engines. Google has explicitly stated that page speed is a ranking signal for both desktop and mobile searches. Kinsta's optimized stack and global CDN can significantly improve your site's loading times, potentially boosting your search rankings.
In fact, after migrating one of our e-commerce clients to Kinsta, we saw their average page load time drop from 3.2 seconds to 0.8 seconds. This improvement correlated with a 15% increase in organic traffic over the next three months. While many factors contribute to SEO success, the speed improvement certainly played a role. It's like upgrading from a slow drip coffee maker to a high-end espresso machine – suddenly, you're serving customers faster and they're coming back more often.
Seamless A/B Testing
Kinsta's staging environments aren't just for developers. They're also a powerful tool for marketers looking to run A/B tests. You can create multiple versions of a page or site section, test them in a staging environment, and then easily push the winning version live.
This level of flexibility allows for more aggressive and frequent testing, which can lead to significant improvements in conversion rates. One of our SaaS clients was able to increase their trial sign-up rate by 23% through a series of A/B tests that would have been much more challenging to implement on their previous hosting setup. It's like being able to serve two different blends of coffee to your customers and instantly knowing which one they prefer.
The Road Ahead: Kinsta's Future and What It Means for You
As we wrap up this guide, it's worth taking a moment to consider what the future might hold for Kinsta and managed WordPress hosting in general. Based on the trends I'm seeing and conversations I've had with industry insiders, here are a few predictions:
- Increased focus on developer tools: Kinsta has already made strides in this area with features like SSH access and Git integration. I expect to see even more developer-friendly features in the future, making Kinsta an even more attractive option for agencies and development teams.
- Enhanced AI and machine learning integration: As AI becomes more prevalent in the hosting industry, I anticipate Kinsta will embrace these technologies to provide even more intelligent caching, security, and performance optimizations. It's like having a barista that knows exactly how you like your coffee before you even order.
- Expanded e-commerce offerings: With the continued growth of online shopping, Kinsta is likely to introduce more features specifically tailored to e-commerce sites, potentially including specialized WooCommerce hosting plans.
- Greater emphasis on sustainability: As environmental concerns become more pressing, hosting providers will need to address their carbon footprint. Kinsta has already made strides in this area by partnering with carbon-neutral data centers, and I expect this focus to intensify.
These potential developments underscore why I believe Kinsta is a solid choice for businesses looking to future-proof their WordPress hosting. Their track record of innovation and commitment to staying ahead of industry trends suggests that they'll continue to evolve their offerings to meet the changing needs of WordPress site owners.
In the end, choosing a hosting provider is a bit like choosing your favorite coffee shop. You want a place that not only serves a great product consistently but also evolves with the times, introducing new flavors and techniques while maintaining the quality you've come to expect. From my experience, Kinsta does just that in the world of WordPress hosting.
So, are you ready to give your WordPress site the Kinsta treatment? Remember, with their 30-day money-back guarantee, you can take it for a test drive without risk. Who knows? You might just find your new favorite blend of speed, reliability, and cutting-edge features.
FAQ
1. What makes Kinsta different from other WordPress hosts?
Kinsta stands out with its Google Cloud Platform infrastructure, custom-built caching system, and WordPress-specific optimizations. It's like having a high-end espresso machine for your website – premium components working together for peak performance.
2. Is Kinsta suitable for beginners?
Absolutely. While Kinsta offers advanced features, its user-friendly interface and excellent support make it accessible for WordPress newcomers. Think of it as a coffee shop that caters to both casual drinkers and connoisseurs.
3. How does Kinsta's pricing compare to other managed WordPress hosts?
Kinsta's pricing is competitive for the features offered. While not the cheapest option, the value proposition is strong – like paying a bit more for a specialty coffee that's leagues above generic store-bought beans.
4. Can I migrate my existing WordPress site to Kinsta?
Yes, Kinsta offers free migrations depending on your plan. Their team handles the process, making it as smooth as having a barista craft your usual order without you saying a word.
5. Does Kinsta offer email hosting?
Kinsta doesn't provide email hosting directly. However, they recommend and support integration with third-party email services. It's akin to a coffee shop partnering with a local bakery for pastries – specialization leads to better results.
6. How does Kinsta handle security?
Kinsta takes security seriously, offering features like free SSL certificates, automatic backups, and malware scanning. It's like having a top-notch security system for your coffee shop, protecting your digital beans 24/7.
7. What kind of support does Kinsta provide?
Kinsta offers 24/7 support via live chat with WordPress experts. It's like having a master barista on call, ready to troubleshoot any brewing issues you might encounter.
8. Can I run WooCommerce on Kinsta?
Absolutely. Kinsta's infrastructure is well-suited for WooCommerce sites, offering the performance and security needed for online stores. It's like having a high-capacity espresso machine that can handle the morning rush with ease.
9. Does Kinsta offer a CDN?
Yes, Kinsta includes a free CDN with all plans. This helps deliver your content faster globally, much like a coffee chain ensuring consistent quality across all locations.
10. What happens if I exceed my plan's visitor or storage limits?
Kinsta doesn't immediately charge overage fees. Instead, they notify you and recommend upgrading if overages are consistent. It's like a coffee shop that lets you enjoy your extra-large latte even if you accidentally ordered a medium – but suggests sizing up next time if it becomes a habit.