In the digital age, capturing the perfect photo has become easier than ever. However, even the most carefully composed shots can sometimes be marred by unwanted elements. Whether it's a photobomber, a distracting background object, or an unsightly blemish, these imperfections can detract from an otherwise stunning image. Fortunately, with the right techniques and tools, anyone can learn to remove these unwanted objects and elevate their photos to professional quality.
Basics of Magic Eraser
Before diving into the specifics of object removal, it's important to understand the fundamental principles behind this photo editing technique. Object removal involves digitally erasing unwanted elements from an image while maintaining the overall integrity and realism of the photo. This process requires a combination of technical skill, artistic vision, and the right software tools.

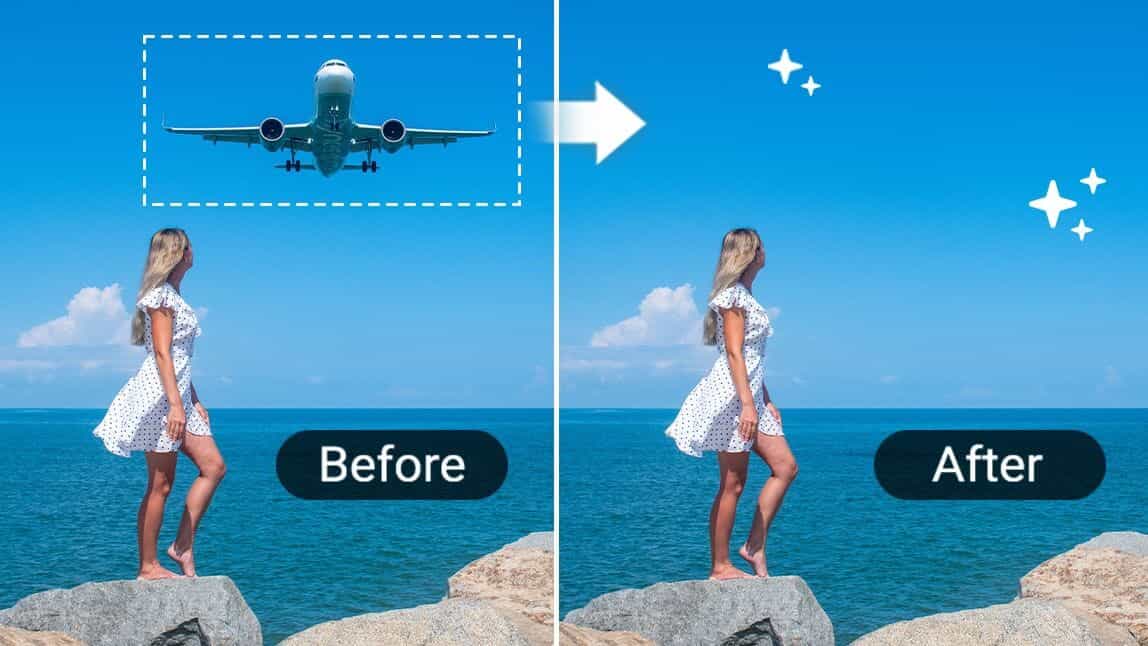
One such tool that has gained popularity among both amateur and professional photographers is Magic Eraser, an AI tool that simplifies the object removal process. While there are various methods and tools available for object removal, Magic Eraser stands out for its user-friendly interface and advanced AI capabilities.
Preparing Your Workspace
Before beginning the object removal process, it's crucial to set up an optimal workspace. This includes:
- Choosing a well-lit area to work in, preferably with natural light to avoid eye strain
- Using a color-calibrated monitor for accurate color representation
- Ensuring your computer meets the minimum requirements for photo editing software
- Organizing your files and creating backups of original images
By taking these preparatory steps, you'll create an environment conducive to precise and efficient photo editing. Additionally, familiarizing yourself with the interface and features of your chosen editing tool, such as Magic Eraser, will streamline your workflow and improve your results.
Identifying Objects for Removal
The first step in the object removal process is to carefully assess your photo and identify the elements you wish to remove. This requires a discerning eye and consideration of how the removal will affect the overall composition of the image. When evaluating objects for removal, consider:
- The size and prominence of the object
- Its relationship to the main subject of the photo
- The complexity of the surrounding area
- The potential impact on the photo's storytelling or emotional appeal
It's important to approach this step thoughtfully, as overzealous object removal can sometimes lead to unnatural-looking results. Tools like Magic Eraser can be particularly helpful at this stage, as they often include features that can suggest areas for removal based on AI analysis of the image.
Selecting the Right Removal Technique
Once you've identified the objects you want to remove, the next step is to choose the appropriate removal technique. The method you select will depend on various factors, including the size and complexity of the object, the texture of the surrounding area, and your personal skill level.
Content-Aware Fill
Content-aware fill is a powerful technique that analyzes the surrounding pixels and intelligently fills in the area where an object has been removed. This method works well for objects surrounded by relatively uniform or patterned backgrounds. Many advanced editing tools, including Magic Eraser, utilize AI-driven content-aware fill algorithms to produce seamless results with minimal user input.
Clone Stamping
Clone stamping involves manually copying pixels from one area of the image and pasting them over the object you want to remove. This technique requires more skill and patience but can be very effective for complex removals or when working with highly detailed backgrounds.
Patch Tool
The patch tool allows you to select an area of the image and replace it with pixels from another area. This can be particularly useful for removing larger objects or when dealing with textured backgrounds.
Regardless of the technique you choose, tools like Magic Eraser often provide intuitive interfaces that simplify these processes, making them accessible even to novice editors.
Step-by-Step Object Removal Process
Now that you understand the basics and have chosen your removal technique, it's time to walk through the step-by-step process of removing an object from your photo.
Step 1: Create a Duplicate Layer

Always start by creating a duplicate layer of your original image. This preserves the original and allows you to make non-destructive edits.
Step 2: Select the Object
Using your chosen selection tool, carefully outline the object you wish to remove. Take your time to ensure a precise selection, as this will greatly impact the quality of the final result. Many modern editing tools, including Magic Eraser, offer smart selection features that can significantly speed up this process.
Step 3: Refine the Selection
After making your initial selection, refine the edges to ensure a smooth transition between the removed object and the surrounding area. This step is crucial for achieving a natural-looking result.
Step 4: Apply the Removal Technique
Depending on the method you've chosen (content-aware fill, clone stamping, or patch tool), apply the technique to remove the object. If using an AI-powered tool like Magic Eraser, this step may be largely automated, with the software intelligently filling in the removed area.
Step 5: Blend and Refine
After the initial removal, carefully examine the area and make any necessary refinements. This may involve additional cloning, healing, or adjusting the opacity of your edits to achieve a seamless blend with the surrounding image.
Step 6: Add Final Touches
Once the object has been successfully removed, consider making final adjustments to the overall image, such as tweaking the color balance or sharpness to ensure the edited area matches the rest of the photo perfectly.
Advanced Techniques for Complex Removals
While the basic process outlined above works well for many situations, some object removals require more advanced techniques. These may include:
Frequency Separation
This technique involves separating the color and texture of an image into different layers, allowing for more precise editing of complex surfaces.
Perspective Matching
When removing objects from images with strong perspective elements, it's crucial to ensure that any new elements added match the existing perspective of the scene.
Light and Shadow Adjustment
Removing an object often means recreating the light and shadow patterns in the area. This requires a keen eye for lighting and may involve painting in new shadows or highlights.
Tools like Magic Eraser often incorporate AI algorithms that can assist with these advanced techniques, making them more accessible to users of all skill levels. However, mastering these techniques manually can provide greater control and flexibility in challenging editing scenarios.
Common Pitfalls to Avoid
Even with powerful tools at your disposal, there are several common mistakes to watch out for when removing objects from photos:
- Over-smoothing: Excessive blending can lead to an unnatural, plastic-like appearance.
- Ignoring lighting and shadows: Failing to account for the light source and shadows can make edited areas stand out.
- Neglecting perspective: Improperly matched perspective in filled areas can create jarring inconsistencies.
- Forgetting about reflections: If the removed object was reflected in another surface, that reflection must also be addressed.
- Overuse of AI tools: While AI-powered tools like Magic Eraser can produce impressive results, overreliance on automation can sometimes lead to subtle errors that a trained eye would catch.
By being aware of these potential pitfalls and taking the time to carefully review your work, you can ensure that your object removals are as seamless and natural-looking as possible.
Ethical Considerations in Object Removal
As with any form of photo manipulation, it's important to consider the ethical implications of removing objects from photos. While it's generally acceptable to remove minor distractions or imperfections, more significant alterations can sometimes cross ethical boundaries, especially in fields like photojournalism or documentary photography.
When using object removal techniques, consider:
- The context and intended use of the image
- Whether the removal significantly alters the meaning or message of the photo
- Any potential legal or copyright issues related to altering the image
It's always best to be transparent about any significant edits made to a photo, particularly in professional or journalistic contexts.
Enhancing Your Skills
Mastering the art of object removal takes time and practice. To improve your skills:
- Experiment with different techniques and tools, including both manual methods and AI-assisted options like Magic Eraser.
- Study before-and-after examples of professional object removals to understand the nuances of the process.
- Practice on a variety of images with different challenges, from simple background removals to complex, multi-object scenes.
- Join online communities or forums where you can share your work and receive feedback from other photographers and editors.
- Stay updated on the latest developments in photo editing technology and techniques.
Recap
Removing unwanted objects from photos is a powerful skill that can dramatically improve the quality and impact of your images. By understanding the fundamental principles, mastering various techniques, and utilizing advanced tools like Magic Eraser, you can transform flawed photos into stunning works of art.
Remember that the key to successful object removal lies not just in the technical execution, but in the artistic vision and judgment to know when and how to make these edits. With practice, patience, and the right tools at your disposal, you'll be able to tackle even the most challenging object removal tasks with confidence and skill.
As you continue to develop your photo editing abilities, always strive for natural, seamless results that enhance the overall quality of your images without compromising their integrity or emotional impact. With these skills in your arsenal, you'll be well-equipped to create truly captivating photographs that stand out in today's visually saturated world.